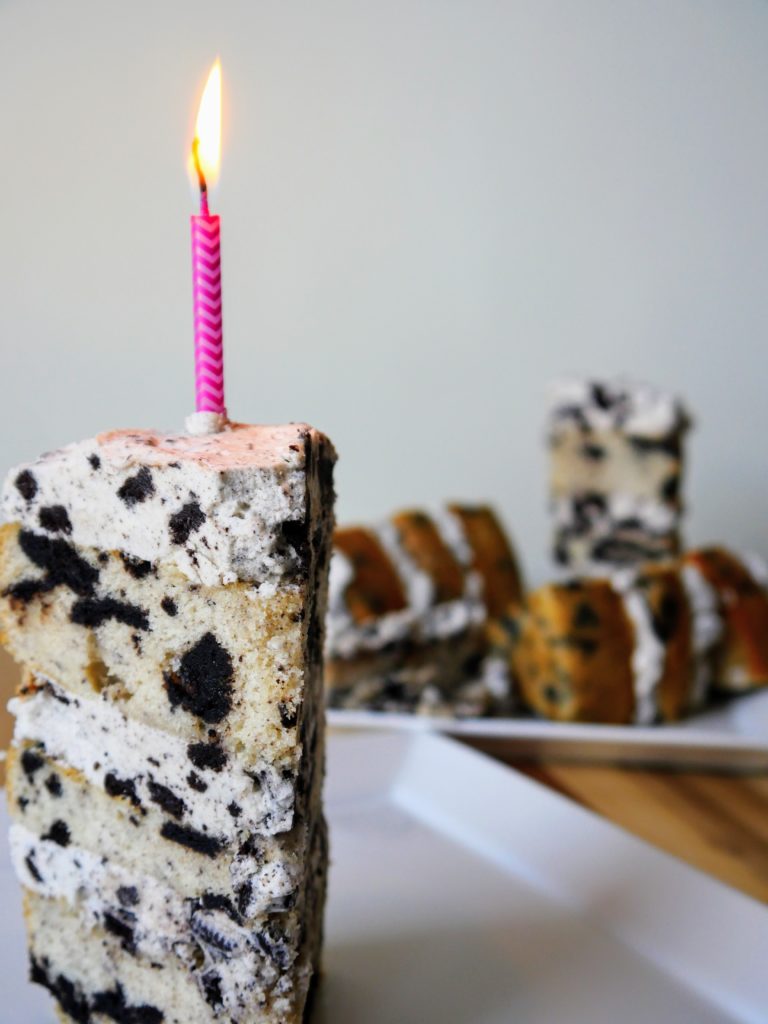
A few days ago, this little blog of mine turned 1. I had a celebratory post all planned out; I’d been developing a cake recipe for weeks, thinking about what I would write, and had the accompanying photographs framed out in my head. But when I went to translate vision into reality, reality hit hard. The cake just would not behave—or maybe it was me who wasn’t behaving. I cut too far into one of the layers when I tried to level it, and didn’t get the amount of frosting between layers the same. The next day, when I went to photograph the cake, none of the slices I cut were as perfect as I wanted them to be, perhaps, ahem, because my Chief Recipe Taster and I just couldn’t wait to taste-test the confection and had cut into it the day before. By the time I got around to staging, the light in the corner of our flat where I take my photos wasn’t quite as good as I’d hoped, and none of the photos were, either (exhibit A, the least-bad photo which features some of the cutting carnage in the background). Nothing turned out how I’d planned.
Truth be told, this incident pretty much sums up my first year of food blogging: I’ve tried a lot and then needed to try again. Most times this trying has been the result of something in the recipe not turning out as I hoped for (we ate that Savory Pumpkin Pie about five times before I was completely satisfied with it). But other times, the trying and failing was the result of events outside of my control. The advent of the pandemic and its effects on the world; the murders of Ahmaud Arbery, Breonna Taylor, George Floyd, and so many other BIPOC folks in the U.S. and around the world; environmental degradation; the death of RBG and the run-up to this election: so much has happened this year and I, like so many others, have struggled to keep pace. At times, everything going on made me think of giving up blogging—who needs to read about cake or Michigan strawberries when disease and inequality are rampant and seem to grow worse every day? What, I have wondered frequently this year, is the point?
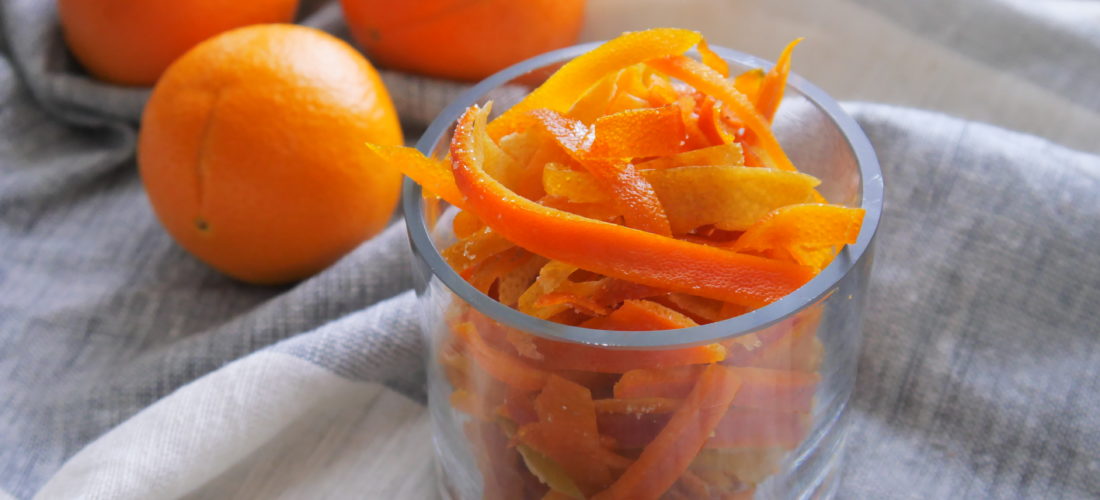
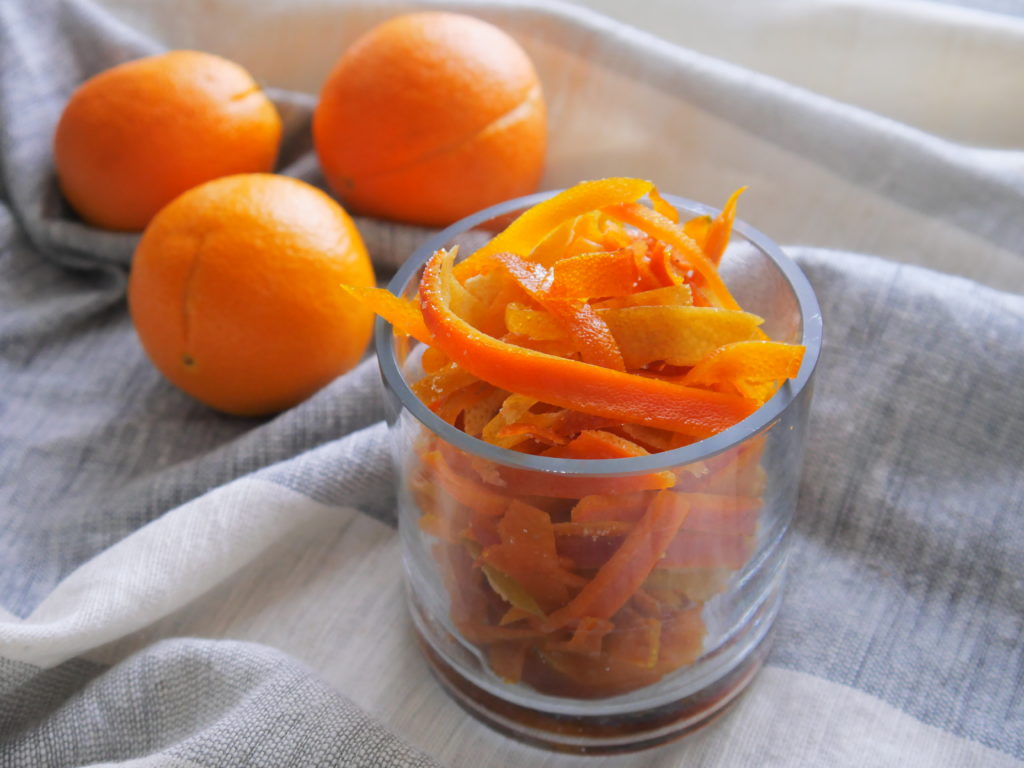
Sometimes I stopped writing to wrestle with this question—there was quite a long pause between the “Orange You Glad This Isn’t a COVID Pun?” cocktail and Buckwheat Crepes with Sautéed Leeks and Fried Eggs—but in the end, two things always drew me back. The first is one that many of us who spend our days hunched over computers may recognize: the simple joy of creating something with my hands, something physical if temporal. It doesn’t matter if I’m shredding zucchini for muffins or chopping eggplant for ragout, knowing that there will be some tangible outcome is satisfying in and of itself.
The second is a bit different. You see, I believe that baking and cooking, the act of preparing food, is a subtle act of resistance and a demonstration of hope. After all, despite my fears about the state of the world, would I really keep creating if I didn’t believe in a future? Even on the days when I’m deeply afraid of what that future might look like, why else would I create a celebration cake but for the fact that something right now is worth celebrating, that something in the future might be worth celebrating?
So I keep coming up with recipe ideas, keep testing them obsessively, keep photographing them and returning to my little corner of the Internet to write about them. I do it even though I don’t have many followers. I do it as an act and as an affirmation, and really, I think that that is enough.
Cookies and Cream Cake
Sources: cake adapted from Stella Parks’s Brave Tart; frosting adapted from Martha Stewart’s Cooking School
Makes one 6-inch, three-layer cake; one 8-inch, two-layer cake; or one 9×13, single-layer cake
Active time: ~90 minutes; total time ~3 hours
Notes:
- The frosting recipe makes enough to “naked” frost a three-tier, six-inch layer cake. If you prefer to frost the cake all the way around, you may want to double the recipe.
- Many of the ingredients in this recipe need to be at “room temperature.” This should be ~70°F, or when you can just press an indent into the butter and the eggs don’t feel chilly to the touch.
Cake Ingredients:
- 1 14.3 ounce-bag Oreos
- 1 stick room-temperature butter
- 1/3 cup room-temperature coconut oil
- 1 generous cup white sugar
- 1 1/4 teaspoons baking powder
- 1/2 teaspoon baking soda
- 1 teaspoon salt
- 4 room-temperature egg whites
- 1 tablespoon vanilla extract
- 1/2 teaspoon almond extract
- 2 cups cake flour
- 1 cup room-temperature buttermilk
Frosting Ingredients
- 3 large egg whites
- 1/2 teaspoon salt
- 3/4 cup white sugar
- 1/8 teaspoon cream of tartar
- 2 sticks room-temperature butter
- 1/2 teaspoon vanilla extract
Directions:
- Position a rack in the middle of your oven before preheating it to 350°F.
- Prepare your cake tins. Grease them well, with either cooking spray or butter (if using butter, don’t forget to flour them, too) and line the bottoms with parchment paper.
- Crush or roughly chop the Oreos so that they’re a mix of sizes. Divide them into two bowls, one for the cake and one for the frosting.
- Make the cake: Add the butter, coconut oil, sugar, baking powder, baking soda, and salt to large bowl or that of a stand mixer fitted with the paddle attachment. Beat the ingredients with a hand mixer or stand mixer set to medium speed until they are light and fluffy, approximately 5 minutes. Add the egg whites one at a time and beat well to combine after each. Beat in the vanilla and almond extracts.
- Add half of the flour, then mix on low to combine. Add half of the buttermilk and, again, mix to combine. Repeat with the remaining flour and buttermilk. Gently but thoroughly, fold the Oreos into the batter.
- Divide the batter evenly between the cake tins. Gently smooth the tops with a spatula before transferring them to the oven.
- Bake the cakes for about 40 minutes, or until they are pale gold on the top and a cake tester inserted into the middle of each cake comes out with just a few crumbs clinging to it.
- When the cakes are done, remove them from the oven. Let them cool in the tins for a bit before turning them out onto a wire cooling rack, removing the parchment rounds from their bottoms, and turning them right-side up again. After they cool completely—which will take at least an hour—you can frost them or wrap them well in plastic wrap and frost them the next day.
- Make the frosting: Set a medium saucepan filled with about 2 inches of water to simmer. While the water is heating, whisk egg whites, salt, and sugar in a medium heat-proof bowl. Set the bowl over the saucepan and cook until the sugar has dissolved and the egg whites are warm—you can test this by dipping a spatula in the mixture and carefully running a finger through it.
- Once the egg whites are warm and sugar dissolved, transfer them to the bowl of a standing mixer. Using the whisk attachment, mix the egg white-sugar syrup on low speed until foamy. Add the cream of tartar and increase the speed to medium-high; beat until you get stiff, glossy peaks. This will take ~10 minutes.
- With the mixer on medium-low, add the butter, two tablespoons at a time, beating well to incorporate after each addition.
- After you’ve added all of the butter, beat in the vanilla. Reduce the mixer speed to low and add the Oreos; mix to combine. Your frosting should look smooth and creamy; if it appears curdled or too loose, the temperature may be off; see here for a trouble-shooting guide.
- Keep the buttercream at room temperature, covered with plastic wrap, if you’re planning to frost your cake soon; otherwise, it can keep in the refrigerator for several days. If you do chill it, bring the frosting to room temperature and whip it in your stand mixer before using.
- Frost the cake: Use a sharp, serrated knife to carefully level your cake layers (scraps = baker’s reward). Place one layer on a serving platter and top with a healthy dollop of frosting; use a butter knife or off-set spatula to spread the frosting around the cake, working from the middle out. Repeat with additional cake layers. I like to let my cake sit for at least an hour before cutting into it, to ensure that the layers and frosting have time to meld together.